Wood Floor Sanding: Your Pathway to a Stunning Home
Let’s be honest, shall we? The moment someone walks into your home, you can almost feel their eyes darting around, taking in every detail. The walls, the furniture, the décor—and of course, the floors.“You’ve got about five seconds to make a decent impression before they decide if your home is a palace or a pigsty.” And your floors, especially those glorious, warm wood floors, can make or break that first impression.
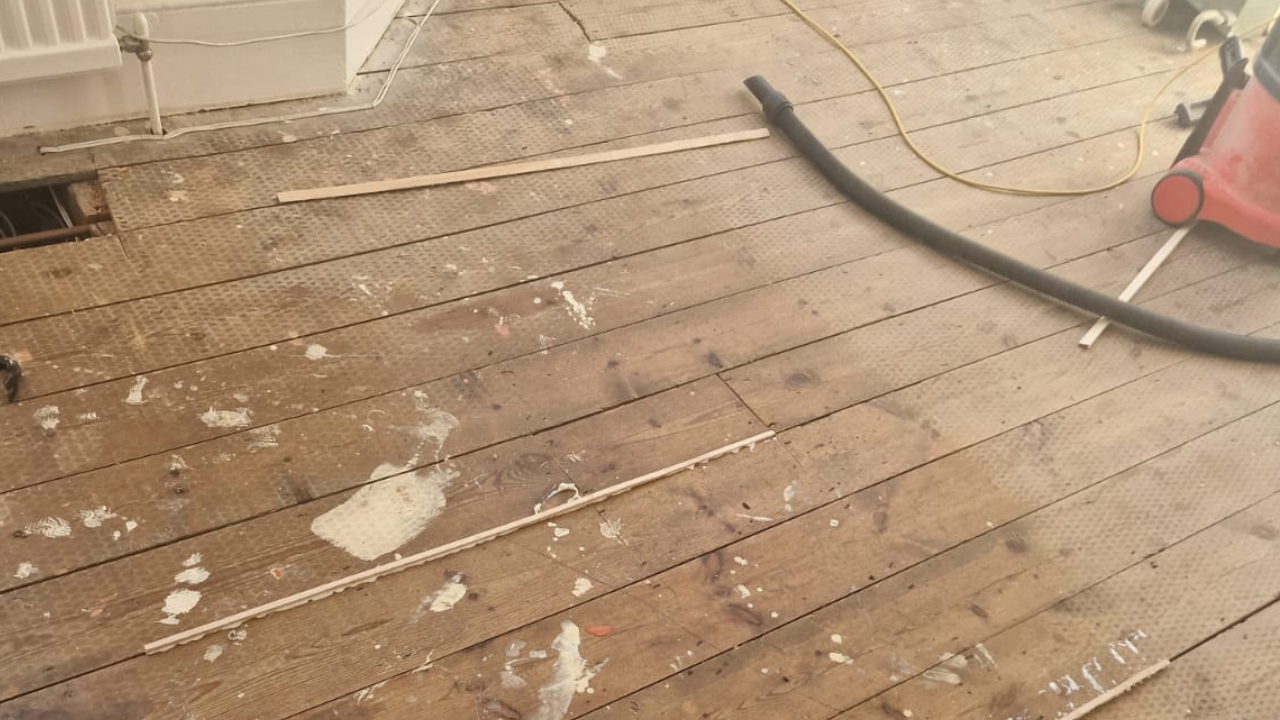
You see, wood floors offer a timeless charm. The trouble is, time doesn’t always treat them kindly. Scratches, dents, and accumulated grime can dull the natural beauty of wooden floors. If that sounds familiar, then read on: because today, we’re talking about the art and science of Wood Floor Sanding in Kent. This guide will arm you with the vital tips, tricks, and insights you need to revive your home’s floors—without losing your sanity or your bank account in the process.
In this in-depth post, we’ll explore every corner of the Wood Floor Sanding process, from understanding the basics to hiring a seasoned professional. You’ll discover why regular sanding is more than just a cosmetic fix; it’s an investment in the longevity of your flooring. Let’s dive in, shall we?
1. Why Wood Floors Deserve Your Attention
1.1 A Gem Under Your Feet
Wood floors aren’t just a functional surface to walk on; they’re an asset. Go on, try selling a home with battered carpeting and compare it to a property flaunting beautifully polished oak floors. Which do you think gets the buyer’s heart racing? Precisely. A well-maintained wooden floor instantly boosts a home’s appeal, not to mention its market value.
1.2 A Reflection of Your Style
Remember what we said about first impressions? Wooden floors have a natural ability to reflect light, warmth, and a sense of luxury. Whether you’re aiming for a classic English cottage vibe or a sleek, modern look, wood floors can adapt like chameleons. Even better, once you get them professionally sanded, you can choose different finishing options—oil, lacquer, wax—to match your decor preference.
1.3 The Importance of Regular Maintenance
There’s a saying: “A stitch in time saves nine.” That’s especially true with wooden flooring. Regular dusting and the occasional polish can help. But over time, daily wear and tear will create small scratches, and those can lead to bigger issues if ignored. That’s where Wood Floor Sanding steps in, clearing away imperfections before they turn into costly repairs.

2. Common Problems That Call for Wood Floor Sanding
Before you dash for the phone to book a floor sanding service, let’s talk about the issues that often signal it’s time to act:
- Scratches and Scuff Marks
- From high heels to your children dragging chairs across the floor, scratches are inevitable.
- Worn-Out Finish
- If the surface looks patchy, dull, or has lost its sheen, a new finish is probably overdue.
- Visible Stains
- Water damage, spilt wine, pet accidents—any form of discoloration calls for action.
- Splinters and Rough Edges
- If you’re feeling jagged edges underfoot, it’s time to smooth things out.
- Gaps and Creaks
- Temperature changes can cause wood boards to expand and contract, leading to gaps or squeaks. While some might tolerate the occasional creak for ‘character,’ too many squeaks usually indicate deeper problems.
The good news: floor sanding can tackle all these issues in one fell swoop, leaving your wood floors looking brand new.
3. What Exactly Is Wood Floor Sanding?
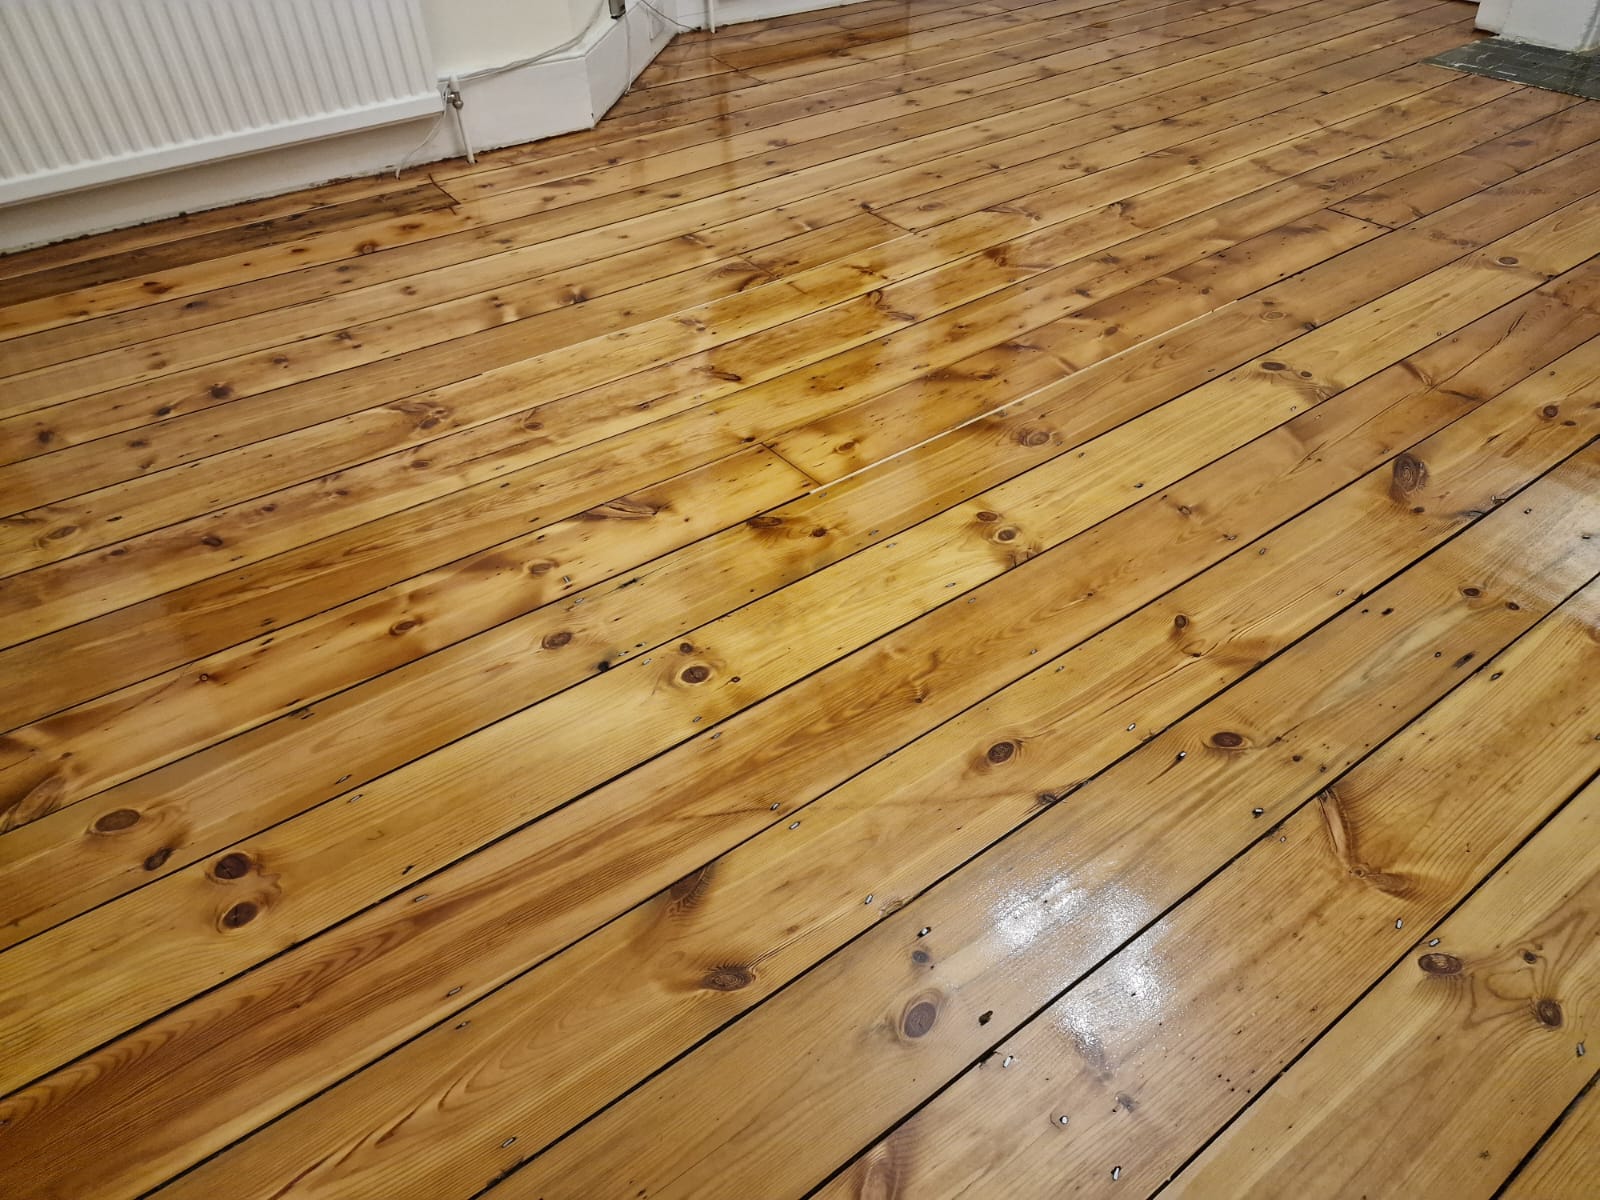
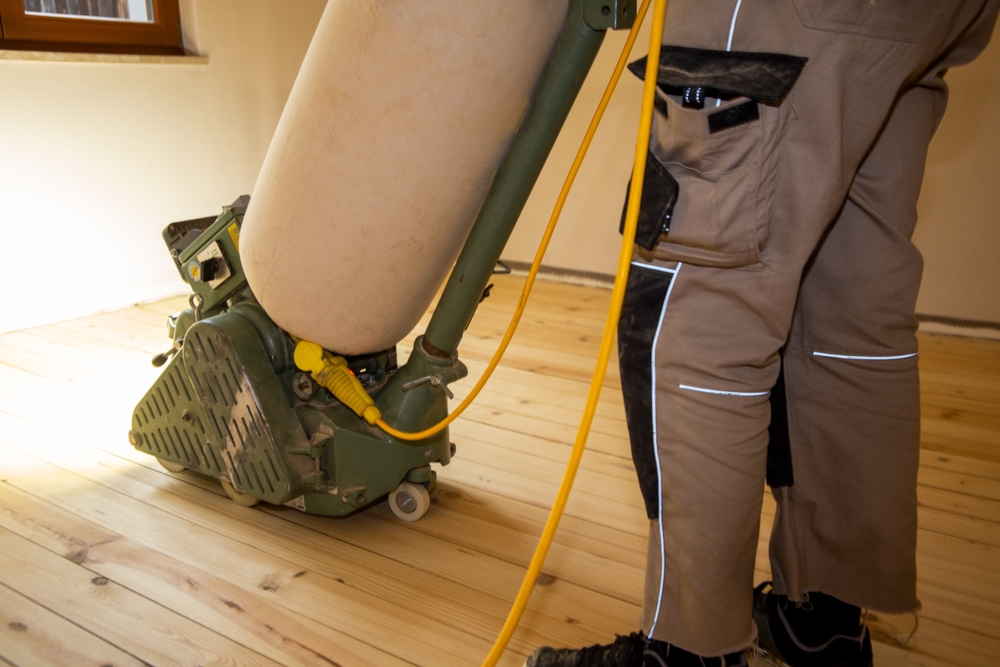
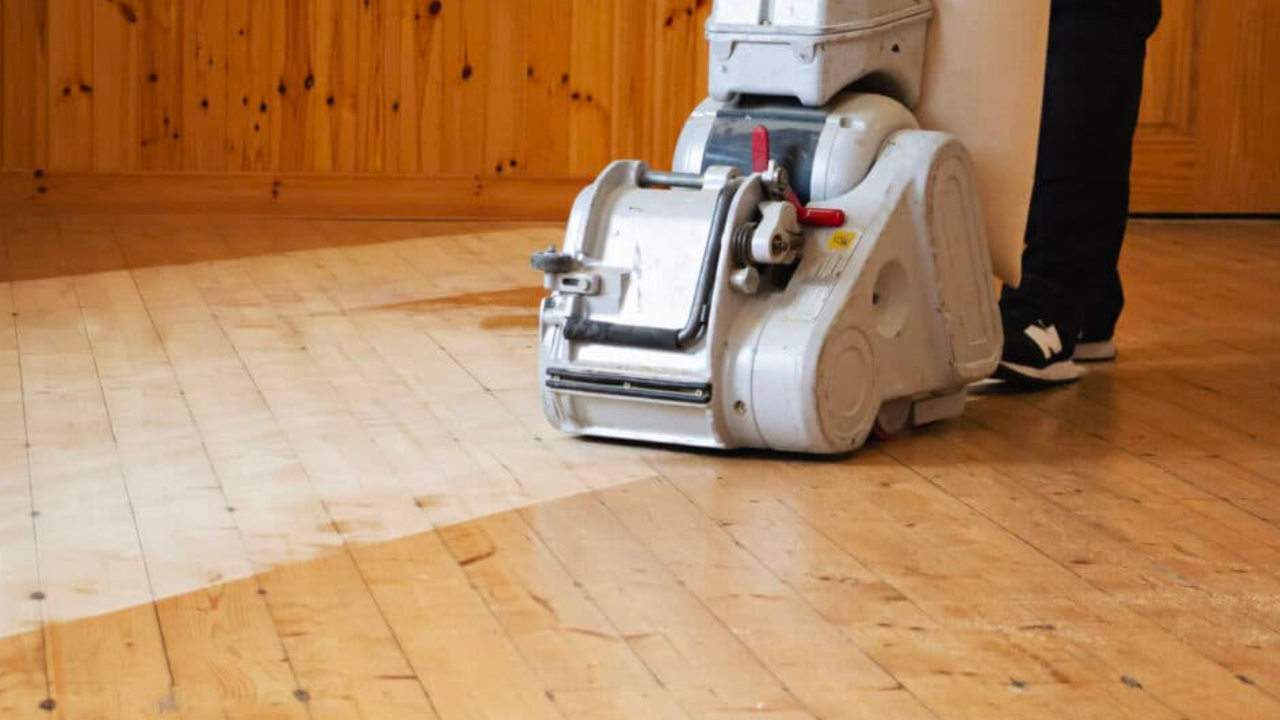
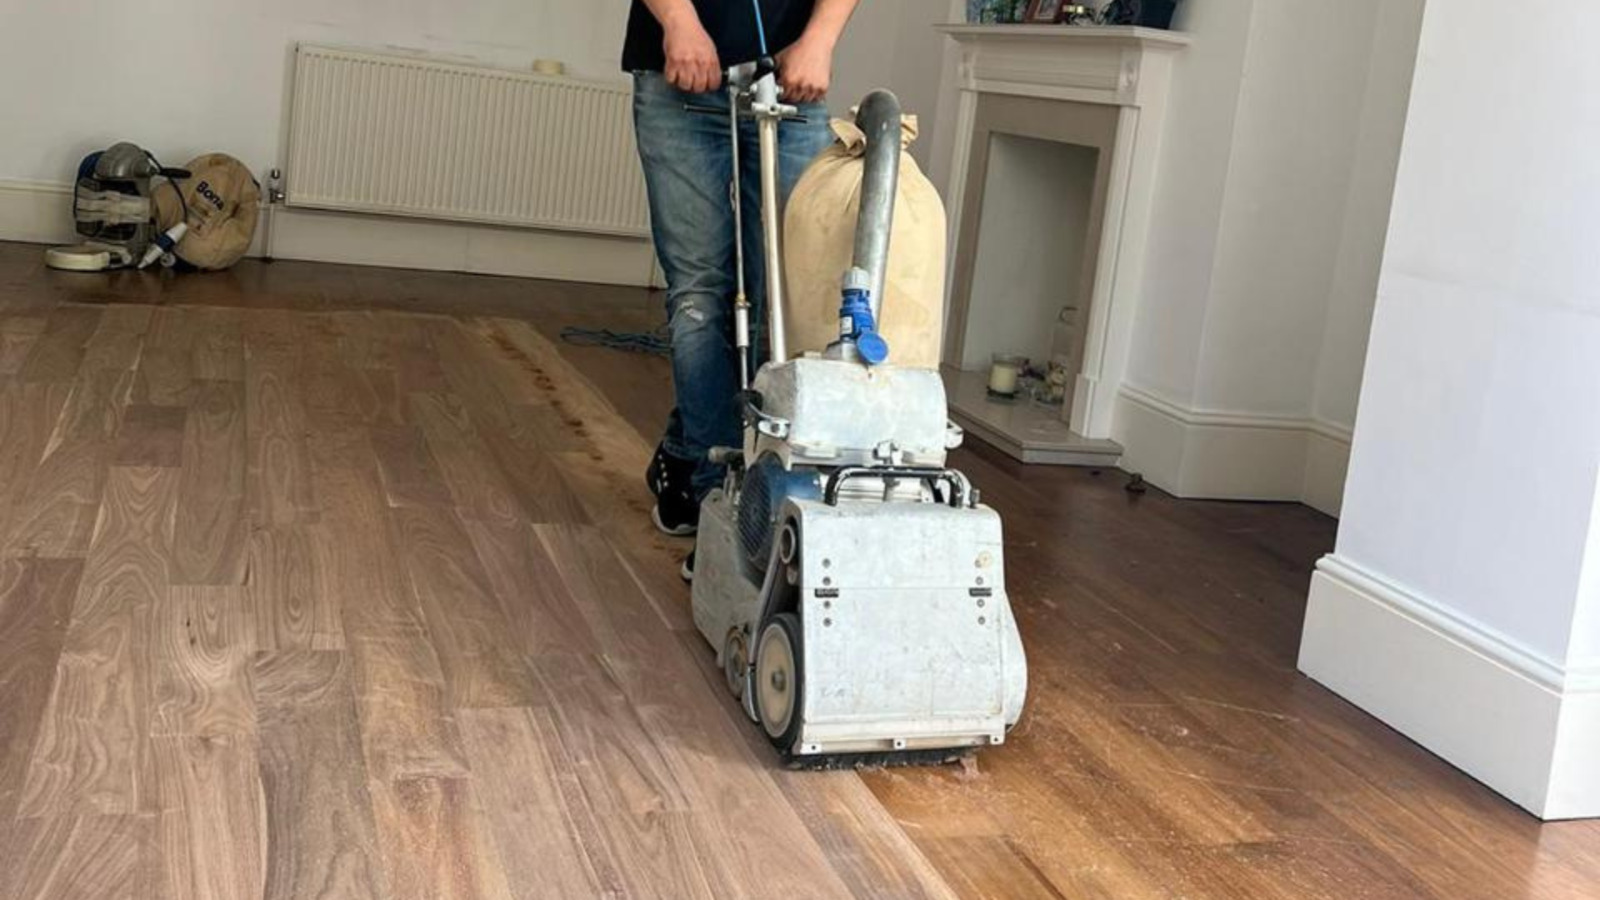
If you’re imagining someone sifting sand over your floor, you’re barking up the wrong tree. Wood Floor Sanding is a process where a sanding machine (with abrasive papers attached) carefully grinds down the top layer of your floorboards. By removing this top layer, you eliminate most surface scratches, stains, and imperfections. Afterward, you can add a new finish (oil, wax, or lacquer), transforming those boards into a gleaming work of art.
3.1 The Two-Part Sanding Process
- Rough Sanding
- Uses a coarse-grade abrasive to remove the old finish and even out any ridges.
- Fine Sanding
- Switches to a finer-grade abrasive to smooth the surface. This step ensures a flawless canvas for staining or sealing.
3.2 Tools of the Trade
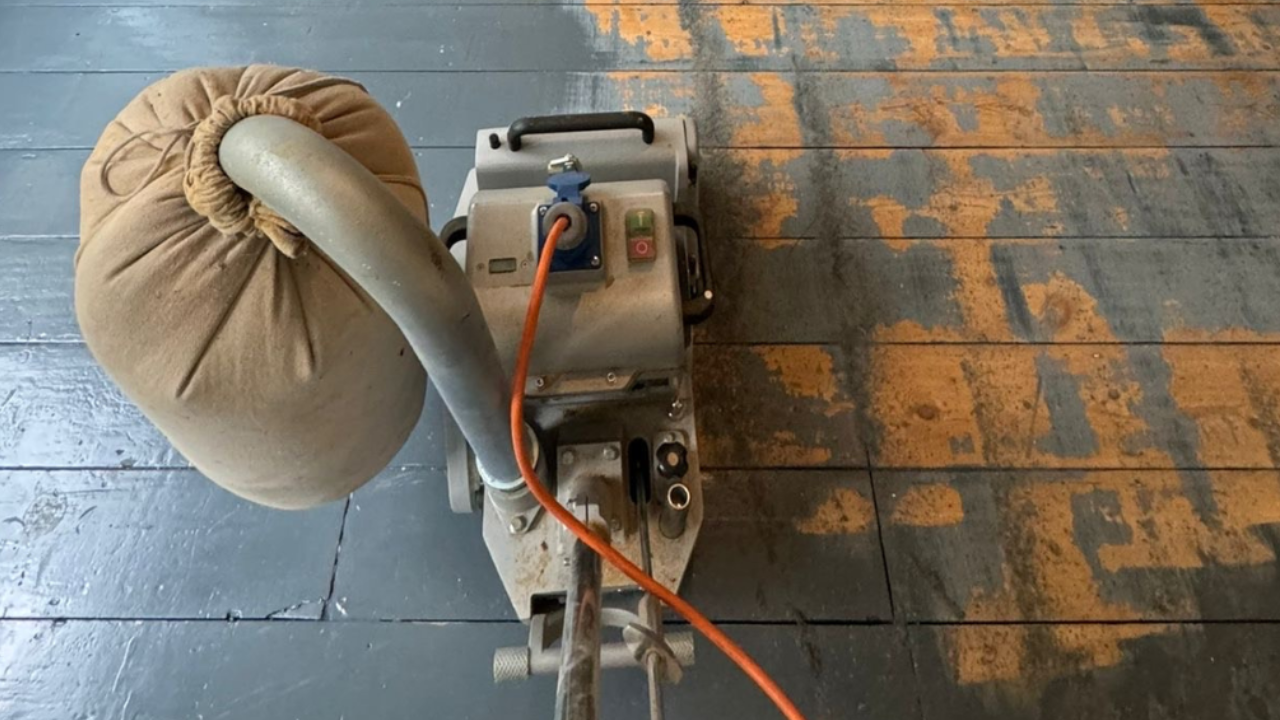
- Drum Sander: The main machine used for sanding large areas.
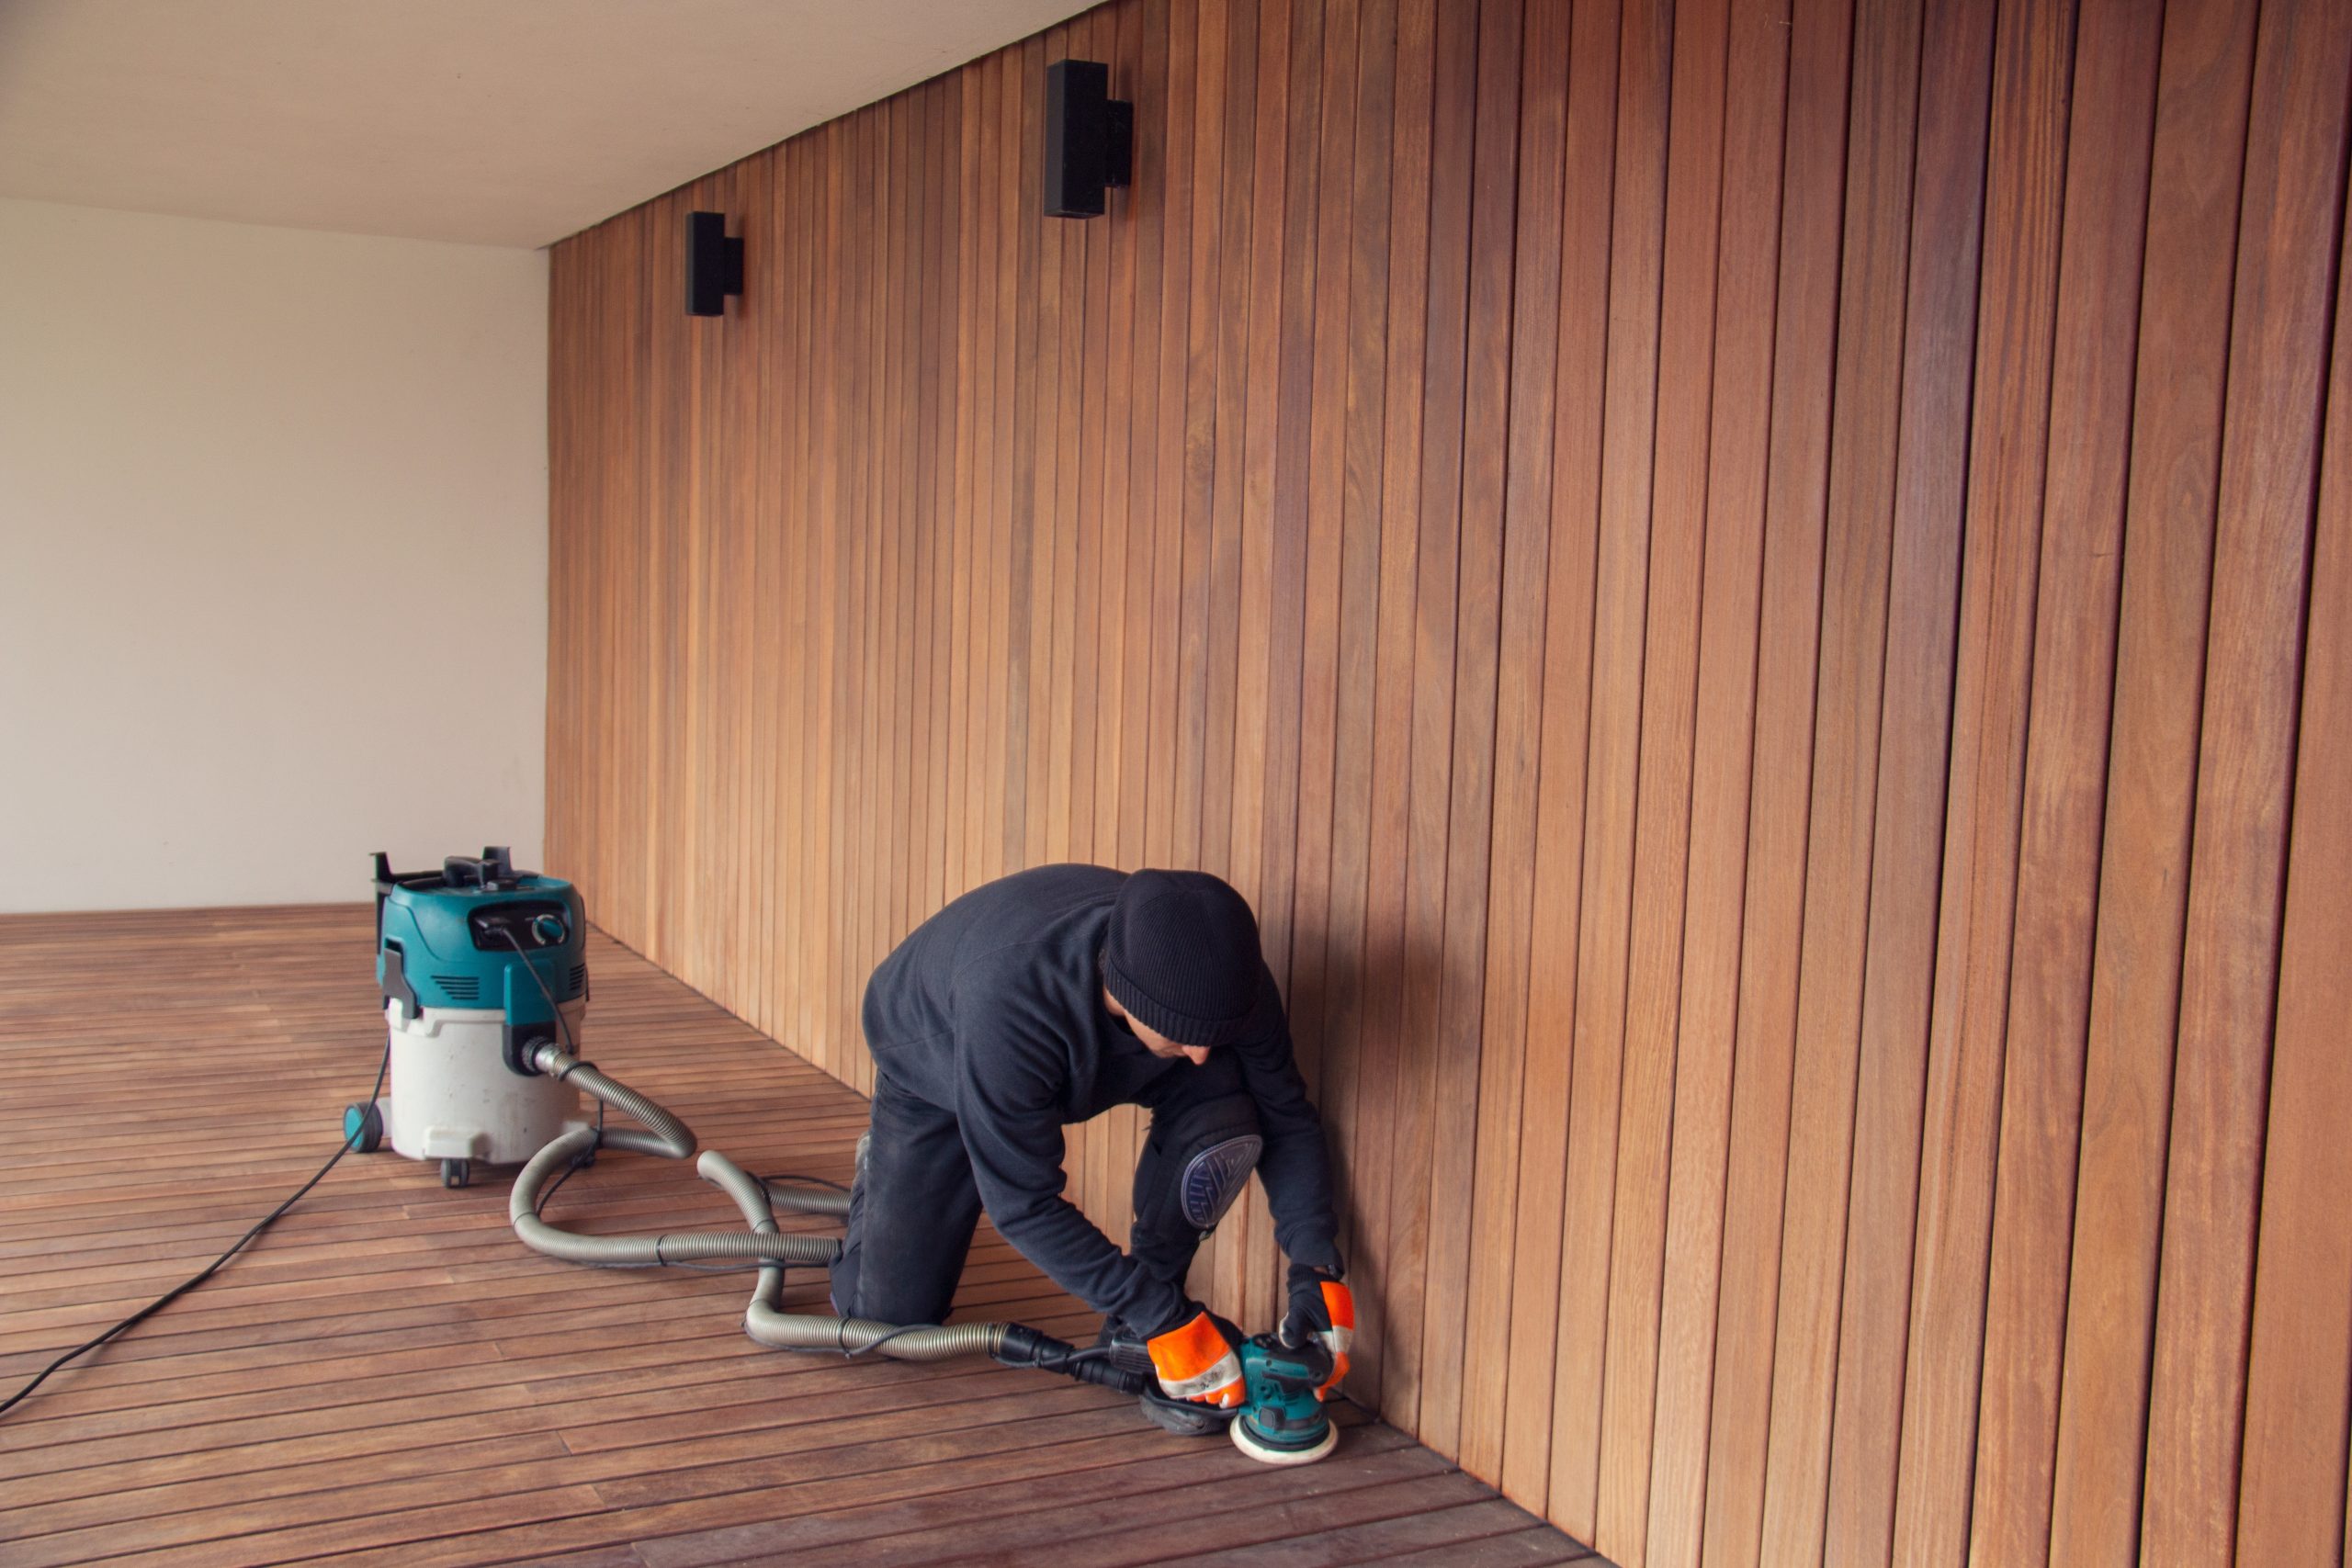
- Edger: Perfect for getting into corners and along skirting boards.
- Corner Sanding Tools: Handheld devices or attachments for the tightest spots.
- Vacuum and Dust Extraction System: To minimize airborne dust, ensuring a cleaner and safer environment.
In many floor sanding operations, dust-free sanding machines are becoming the norm, which is a relief for those worried about cleaning up mountains of dust afterward.
4. Why DIY Might Not Be the Best Approach
“If you think it’s expensive to hire a professional, wait until you hire an amateur.” Many homeowners flirt with the idea of a DIY floor sanding project, seduced by the prospect of saving a few quid. Let me share a cautionary tale:
A dear friend of mine rented a sanding machine and decided to have a go. In less than an hour, he’d created more drum marks, burn marks, and uneven patches than you could shake a stick at. The end result was a floor that needed more repairs than it initially did. The cost? Higher than if he’d hired a pro from the start.
4.1 Steep Learning Curve
Operating a sander isn’t rocket science, but it does require finesse. Beginners often struggle with:
- Controlling the machine’s speed and pressure
- Correctly choosing abrasives
- Avoiding dips and gouges
4.2 Time and Stress
What might take a professional team a day or two could take you a week (or longer), assuming you’ve got the stamina and the patience. Meanwhile, you’ll be living with dust, noise, and the anxiety of messing up a costly asset.
4.3 Unforeseen Problems
Uneven subfloors, squeaky boards, hidden nails—these can catch a DIY enthusiast by surprise. A professional Wood Floor Sanding service knows how to handle these hiccups without breaking a sweat.
5. The Benefits of Professional Wood Floor Sanding in Kent
Now, if you’re based in or around Kent, you’re in luck. There are specialised Wood Floor Sanding services here that have honed their craft to a fine art. Let’s explore why hiring a local expert is well worth your consideration.
5.1 Local Knowledge, Personal Touch
Kent isn’t just about rolling countryside and charming seaside towns (though we love that too). From traditional Victorian floorboards to sleek, modern oak planks, local professionals have likely seen every type of wooden floor out there. This familiarity means they know the best approach, finishing products, and even how to deal with Kent’s sometimes fickle climate.
5.2 Top-Notch Equipment
Reputable floor sanding companies invest in the latest gear—often dust-free or low-dust systems—keeping your home clean and your lungs safe.
5.3 Comprehensive Services
Most Wood Floor Sanding experts in Kent also offer floor sanding and wood floor restoration as a complete package. These might include:
- Gap filling: Using resin or wood strips to tighten up gaps.
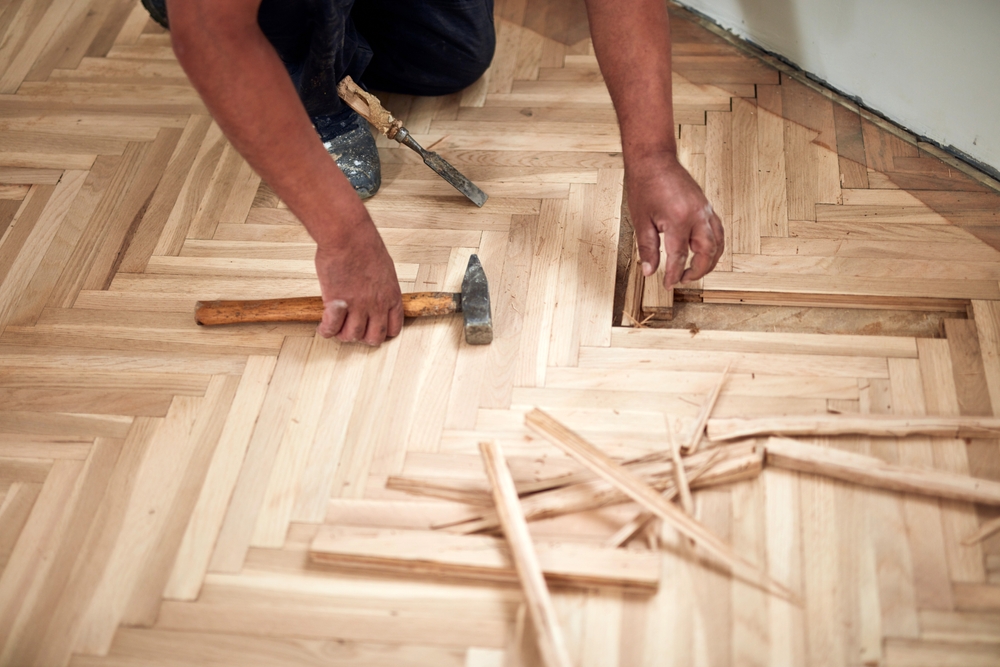
- Board replacement: Swapping out severely damaged planks.
- Staining: Changing the floor’s colour for a fresh look.
- Polishing and buffing: Achieving that high-end, glossy finish if desired.
5.4 Guaranteed Results
Professionals back their work with guarantees. If you spot any issue post-service, most reputable firms will return to rectify it. Try getting that assurance from your local tool hire shop.

6. Step-by-Step: The Wood Floor Sanding Process
Let’s walk through a typical wood floor sanding procedure. This will help you know exactly what to expect.
6.1 Initial Assessment
- Inspection: The sanding team inspects the floor’s condition—looking for loose boards, protruding nails, or major damage.
- Measuring Moisture: A quick check ensures the wood’s moisture level is appropriate for sanding (too damp, and you risk swelling or warping).
6.2 Preparation
- Room Clearing: All furniture and rugs must go. If possible, remove doors that swing over the floor area.
- Nail Punching: Any visible nails are hammered down slightly below the surface to avoid tearing the sandpaper.
- Repairing Damage: Cracks, gaps, and squeaks are dealt with before the sanding machine is fired up.
6.3 Sanding Proper
- Rough Sand
- Using a coarse-grit paper (e.g., 36-grit), the team removes the old finish and levels out rough spots.
- Edging
- An edger machine with the same coarse grit sands the perimeter where the main sander can’t reach.
- Intermediate Sand
- Move to a mid-level grit (e.g., 60-grit) to refine the surface.
- Fine Sand
- Finally, a fine-grit paper (e.g., 100- or 120-grit) creates a smooth surface.
6.4 Cleaning and Dust Extraction
After sanding, the team vacuums thoroughly, removing every trace of dust. Some professionals use a tack cloth or special solution to ensure the floor is impeccable before finishing.
6.5 Finishing Touches
- Staining (Optional)
- If you want a new colour, this is the moment to apply it.
- Sealing
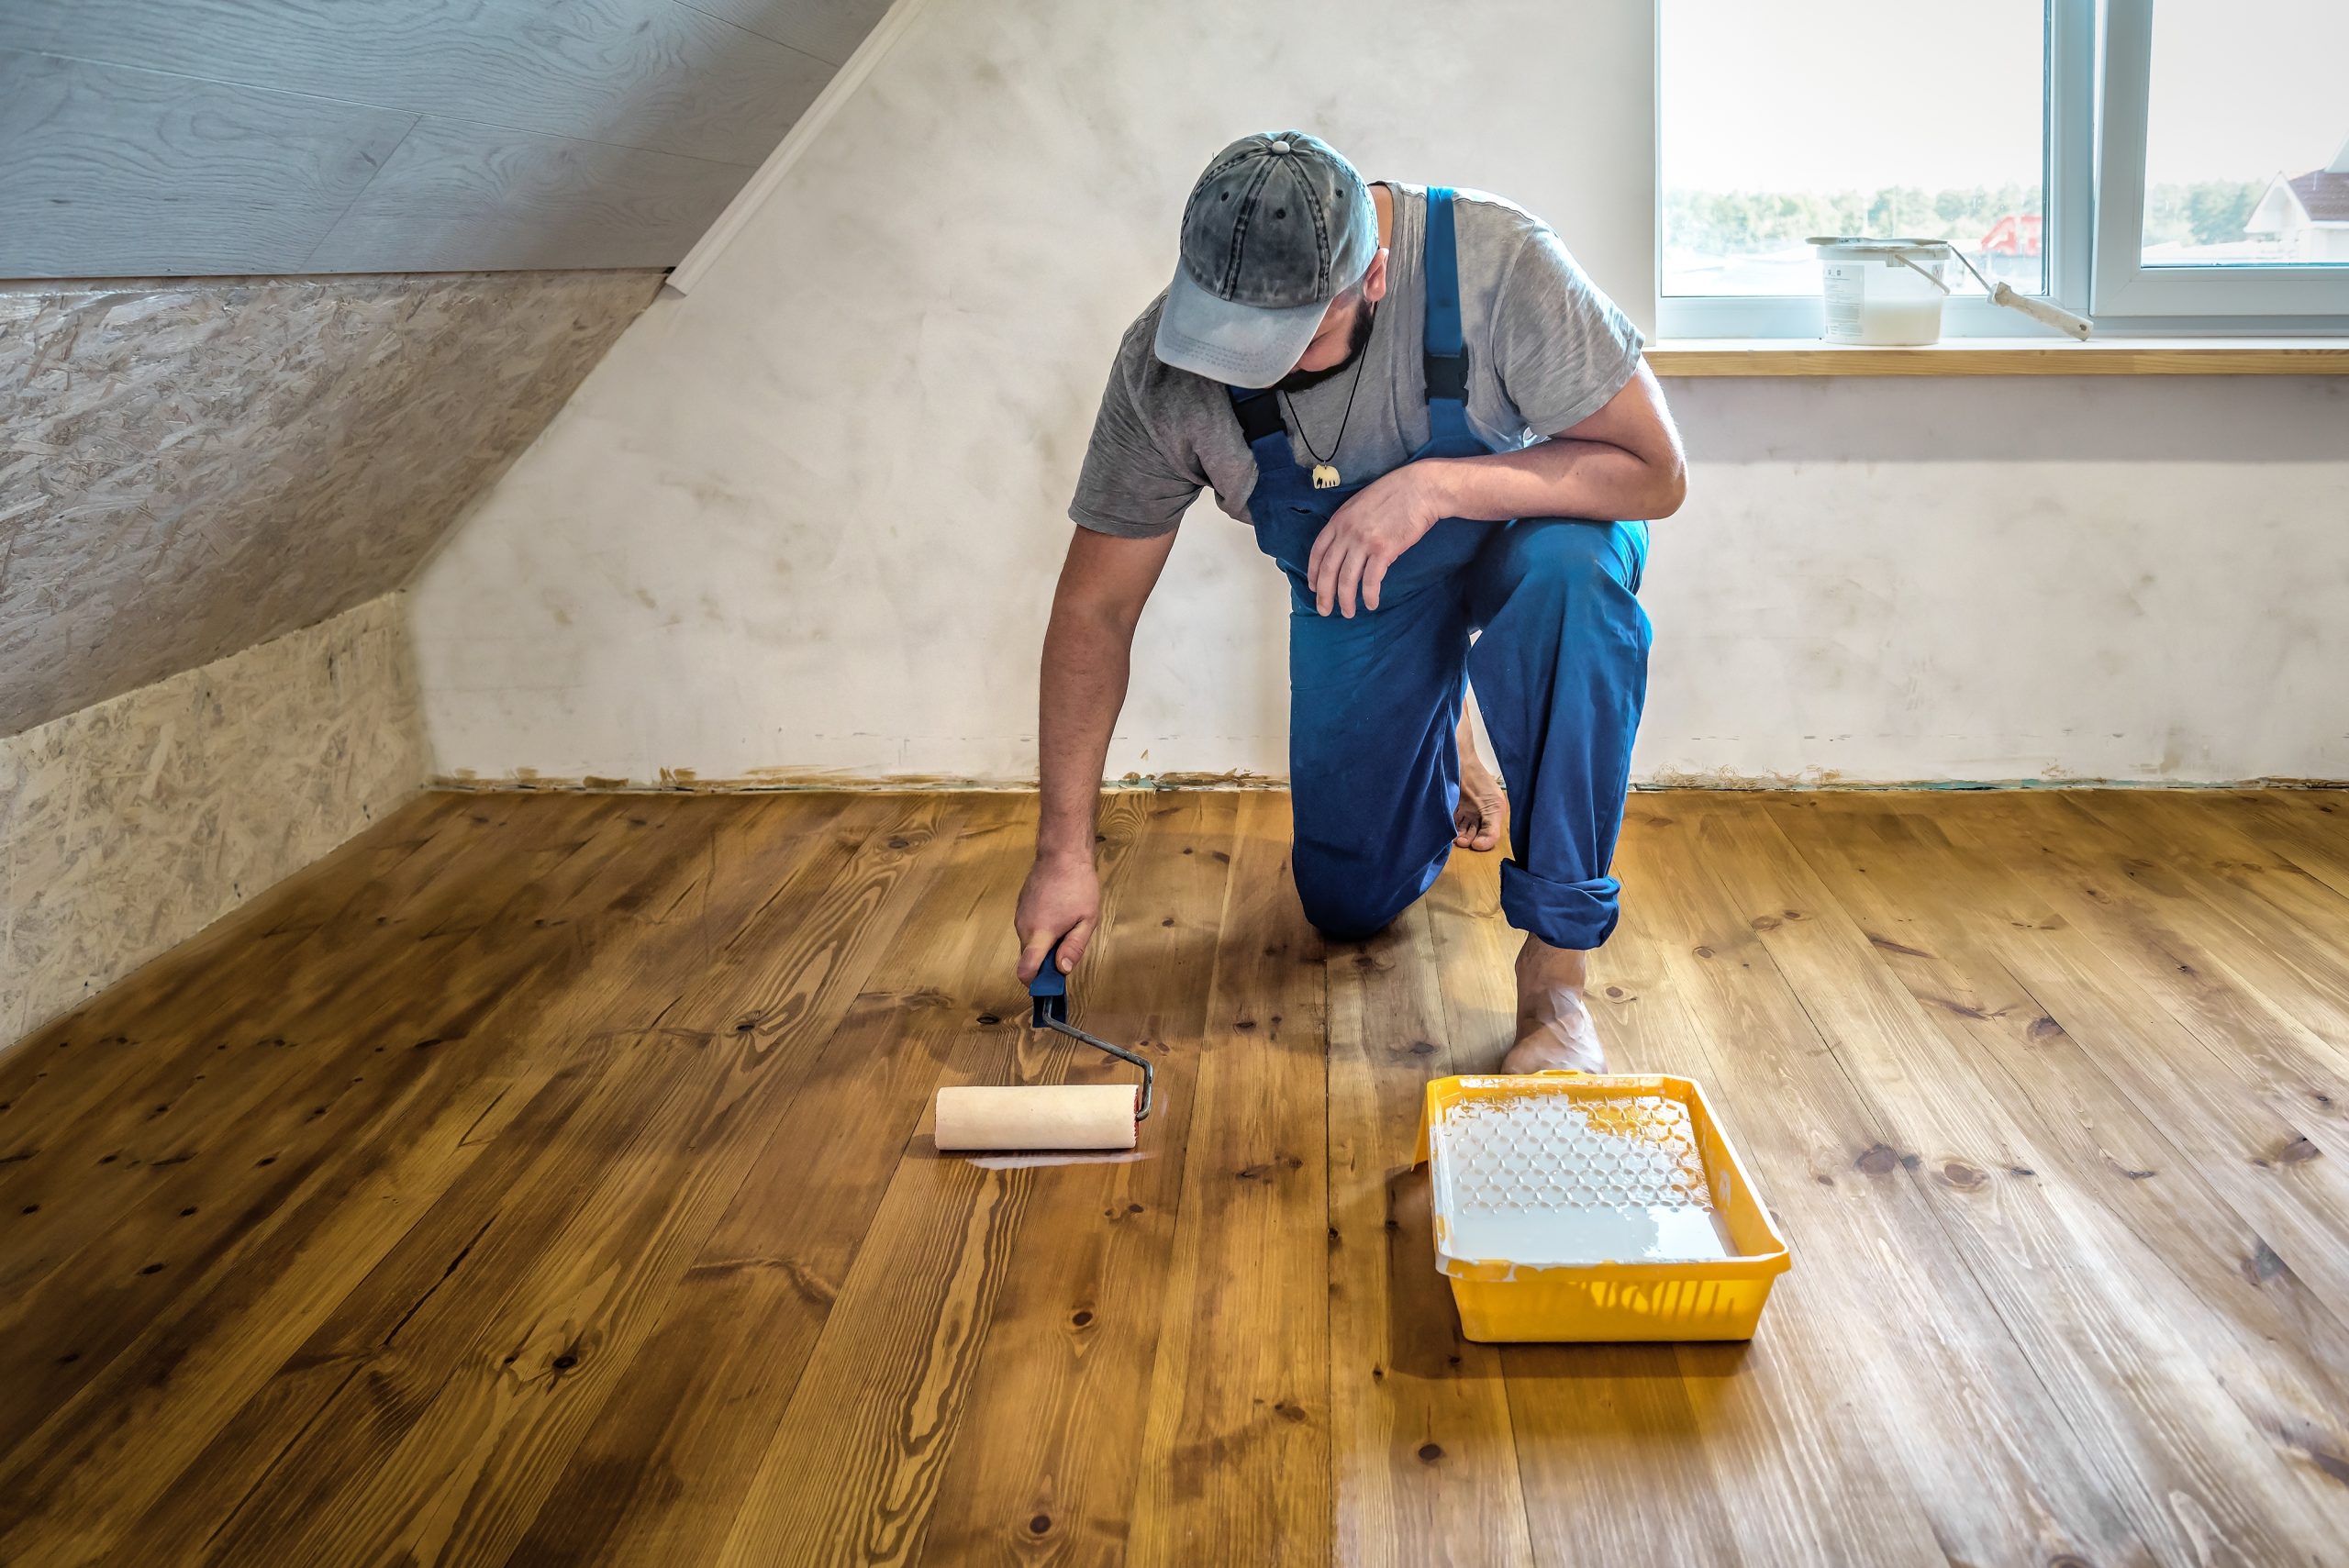
- Usually done with a lacquer or oil to protect the wood and provide the desired level of sheen.
- Final Buff
- A quick buffing might follow once the finish has dried, leaving your floor looking like it belongs in a showroom.
7. Choosing the Right Finish
Now here’s a question we hear a lot: “Oil, wax, or lacquer—what’s best for my wood floor?” The answer depends on your taste, budget, and how much maintenance you’re prepared to do.
7.1 Oil Finish
- Pros: Deeply penetrates the wood, enhancing its natural grain and warmth. If scratched, you can often fix the affected area without redoing the entire floor.
- Cons: May require more frequent re-oiling, especially in high-traffic areas.
7.2 Wax Finish
- Pros: Offers a soft sheen and a traditional look. It’s breathable, allowing the wood to age gracefully.
- Cons: Less durable against spills and scratches. Requires periodic buffing and reapplication.
7.3 Lacquer (or Varnish)
- Pros: Creates a hard, durable surface that’s highly resistant to wear and tear. Excellent for busy households or commercial settings.
- Cons: If it does get damaged, you often need to re-sand and re-lacquer the entire floor for a uniform appearance.
8. Sanding Different Types of Wood Floors
Not all wood floors are created equal. Let’s briefly discuss some variations you might encounter.
8.1 Solid Hardwood
Typically made of oak, walnut, or maple. Solid wood can handle multiple sanding sessions over its lifetime, making it a long-term investment.
8.2 Engineered Wood
Layers of wood glued together with a hardwood top layer (veneer). The thickness of that top layer determines how many times you can sand it. Generally, you can sand high-quality engineered boards around two to three times.
8.3 Parquet Flooring
Parquet tiles or blocks arranged in geometric patterns. Sanding parquet is more delicate because the grain goes in different directions. This requires a more meticulous approach.
8.4 Softwoods (Pine, Fir)
These can be sanded, too. However, they tend to scratch more easily, so a durable finish is crucial.
9. The Cost of Wood Floor Sanding in Kent
“Money talks.” So, let’s address the elephant in the room. How much does Wood Floor Sanding in Kent cost?
Well, it depends on several factors:
- Floor Area: More square metres = more labour and materials.
- Condition of the Floor: The worse it is, the more prep and sanding passes required.
- Type of Finish: High-quality oils and lacquers cost more than budget alternatives.
- Extra Services: Gap filling, board replacement, staining, or repairs will up the final bill.
On average, you might expect anywhere from £20 to £40 per square metre for professional sanding and finishing. Always get a detailed quote that outlines each cost. If a deal sounds too good to be true, it probably is—meaning corners might be cut (literally and figuratively).
10. How to Maintain Your Newly Sanded Wood Floors
So, you’ve invested in Wood Floor Sanding, the boards gleam, and your home looks magnificent. Don’t let it all go to waste. Proper maintenance is key to preserving that showroom finish.
10.1 Regular Cleaning
- Sweep or Vacuum: Daily or every other day to remove grit that can scratch the floor.
- Use a Damp Mop: Avoid drenching the floor; excess water can seep into the wood and damage it over time.
- Use the Right Products: Specialized wood floor cleaners help preserve the finish. Steer clear of harsh chemicals.
10.2 Protect High-Traffic Areas
- Rugs and Mats: Place them at entrances and in hallways to catch dirt.
- Furniture Pads: Stick these under chair and table legs to prevent scratches.
10.3 Refreshing the Finish
- Re-Oiling: Depending on traffic, you might need to re-oil every 1–2 years.
- Re-Waxing: Wax can wear out faster, so be prepared for more frequent touch-ups.
- Buffing and Polishing: A yearly buff can extend the finish’s life, keeping the surface smooth.
11. Commercial Wood Floor Sanding: For Businesses that Demand Excellence
Wood Floor Sanding isn’t just for homeowners. Restaurants, galleries, hotels, and offices in Kent often rely on professionally maintained floors to wow clients and visitors. If you run a commercial establishment:
- Plan Ahead: Schedule sanding during off-peak hours or holidays to minimize disruption.
- Check Durability: Opt for a hard-wearing lacquer or commercial-grade oil to stand up to heavy foot traffic.
- Regular Maintenance: Consider periodic polishing to keep those floors inviting for customers.
12. Avoiding Common Wood Floor Sanding Mistakes
What if you decide to risk a DIY approach or hire a cut-price service? Here are some pitfalls to watch out for:
- Skipping Grit Levels
- Jumping straight from coarse to fine can leave swirl marks.
- Not Checking Humidity
- Sanding a damp floor can cause the wood to warp.
- Neglecting Corners and Edges
- Edging requires patience and precision. A lazy job here ruins the final look.
- Over-Sanding
- With engineered floors, sanding too deep can expose the plywood base.
- Rushing the Finish
- Each coat of stain or lacquer needs time to dry thoroughly.
13. The Magic of Professional Wood Floor Restoration Services
As part of a complete wood floor restoration, sanding is just one facet. Restoration might also involve:
- Replacing broken boards
- Fixing squeaks
- Gap filling
- Refinishing
- Polishing
This holistic approach ensures your floor isn’t just pretty on the outside; it’s structurally sound and ready to face daily life. To explore these services, consider this dedicated page on Wood Floor Restoration to see how comprehensive restoration can bring an even older or severely damaged floor back to life.
14. Ready to Revive Your Floors? Choosing a Wood Floor Sanding Specialist in Kent
Selecting the right people for the job can feel like a roll of the dice. Allow me to offer some top tips:
14.1 Word of Mouth
Ask friends, family, or neighbours if they’ve had Wood Floor Sanding done. Personal recommendations often lead to stellar results.
14.2 Online Reviews and Testimonials
Look for consistency in reviews. A single bad comment could be a fluke, but if you see repeated red flags—like missed deadlines or poor communication—take heed.
14.3 Credentials and Experience
- Years in Business: A long track record often indicates reliability.
- Certifications: Some sanding pros are affiliated with trade associations.
- Insurance: A reputable outfit has liability insurance to protect both parties if something goes awry.
14.4 Request a Quote and Consultation
No serious professional will balk at providing a detailed, written estimate. This should list:
- Labour costs
- Materials
- Estimated timeline
- Any additional charges (e.g., for repairs or staining)
15. Frequently Asked Questions About Wood Floor Sanding
15.1 How Long Does Wood Floor Sanding Take?
For an average-sized room (say 20 square metres), sanding and finishing might take 1–2 days, considering drying times. Larger areas or multiple rooms can take longer, especially if you opt for multiple coats of finish or specialised treatments.
15.2 Is Wood Floor Sanding Dusty and Messy?
Modern techniques have drastically reduced the dust problem. Many companies use dustless or low-dust sanding machines. Of course, some dust will inevitably linger, but a thorough post-sanding clean-up can handle it.
15.3 How Soon Can I Walk on the Floors After Sanding?
You can usually walk in socks after 24 hours. But if you’ve had a new finish applied, it might need up to 72 hours to fully cure. Always check the recommendations for the specific finish you’ve chosen.
15.4 Can I Stay Home During the Sanding?
Yes, but be prepared for noise. If you’re sensitive to noise or dust, consider arranging alternative accommodation for a night or two.
15.5 How Often Should I Sand My Wood Floors?
It depends on the foot traffic, the type of finish, and how well you maintain them. On average, a well-maintained floor might only need re-sanding every 7–10 years.

16. A Final Word of Advice
“Don’t just sit there, do something!” If your floors are looking worse for wear, waiting will only exacerbate the problem. The best time to invest in Wood Floor Sanding was probably yesterday. The second-best time? Right now.
Your floors bear the brunt of daily life. They absorb footsteps, chair scrapes, and the occasional drop of a heavy object. Treat them well, and they’ll reward you by elevating the whole look and feel of your home. Ignore them, and you risk diminishing your property’s value and charm.
17. Ready to Get Started? Your Next Steps
- Assess Your Floors: Look for the common signs—scratches, dull finish, visible stains.
- Get Quotes: Reach out to reputable sanding pros in Kent.
- Plan the Timing: Ideally, get the sanding done when you can vacate or live comfortably with minimal disruption.
- Choose Your Finish: Decide between oil, wax, or lacquer based on lifestyle and aesthetic preferences.
- Maintain Regularly: Once sanded, keep your floors clean, use protective mats, and consider yearly buffs.
And if you need expert Wood Floor Sanding or a thorough floor sanding and wood floor restoration service in Kent, there’s a team of skilled specialists waiting to help you transform those tired boards into something truly magnificent.
Conclusion: Embrace the Transformative Power of Wood Floor Sanding in Kent
Let’s be crystal clear: Wood Floor Sanding in Kent isn’t just a fancy term for buffing up your floors. It’s an art and a science that, when done right, can revive your home’s atmosphere in a dramatic way. From increasing property value to simply creating a more inviting space for your family and friends, the benefits are manifold.
“The biggest mistake you can make is not doing anything at all.” Don’t let damaged floors become an eyesore or a liability. Take action, invest in Wood Floor Sanding, and let the natural beauty of timber speak for itself. When those boards gleam, you’ll realise that every penny spent was an investment in comfort, aesthetics, and long-term value. And if that’s not a good reason to crack open a bottle of bubbly and toast your newly revived home, I don’t know what is.
Final Call: Transform Your Floors Today!
If you’re ready to turn your floors from faded to fabulous, Wood Floor Sanding in Kent is the answer. Whether it’s a modest bungalow or a sprawling manor, every wooden floor deserves a second chance. Reach out to the professionals, compare quotes, and pick the team that feels right for you. Before you know it, those drab floors will be a distant memory—and you’ll be padding around on surfaces so smooth and gleaming, you’ll wonder why you waited so long.
So, here’s to a future of splendid, eye-catching, and delightfully squeak-free wooden floors. Cheers!